How to Install Fonts on Your Windows or Mac Computer
Ever found yourself working on a document or a presentation, only to realize the font that is missing and everything is appearing clumsy? Whether it’s to adhere to your company’s branding guidelines in a presentation template or simply to infuse a personal touch into your project, knowing how to install new fonts is an invaluable skill for any computer user. This guide will provide you with step-by-step instructions to easily install fonts on both Windows and Mac computers.

Why You Might Need to Install New Fonts
Installing new fonts can be essential for a variety of reasons:
Perhaps you're working on a presentation and need to use your company's specific fonts to maintain branding consistency.
Maybe you're designing a wedding invitation and want that special font to give it a unique flair.
Or you could be looking to refresh your document designs with new typography.
Whatever your reason, installing new fonts on your computer is a simple process that can make a big difference in the appearance of your projects.
For Windows Users
① Close Any Open Applications
First, close any open applications. Newly installed fonts may not appear in your font menu if you ignore this step. (Specifically the case with MS PowerPoint!)
② Download the Font
Find the font you wish to install. Many companies provide a full font package in their brand guidelines. If a company uses a free-licensed font, you may find it on Google Fonts.
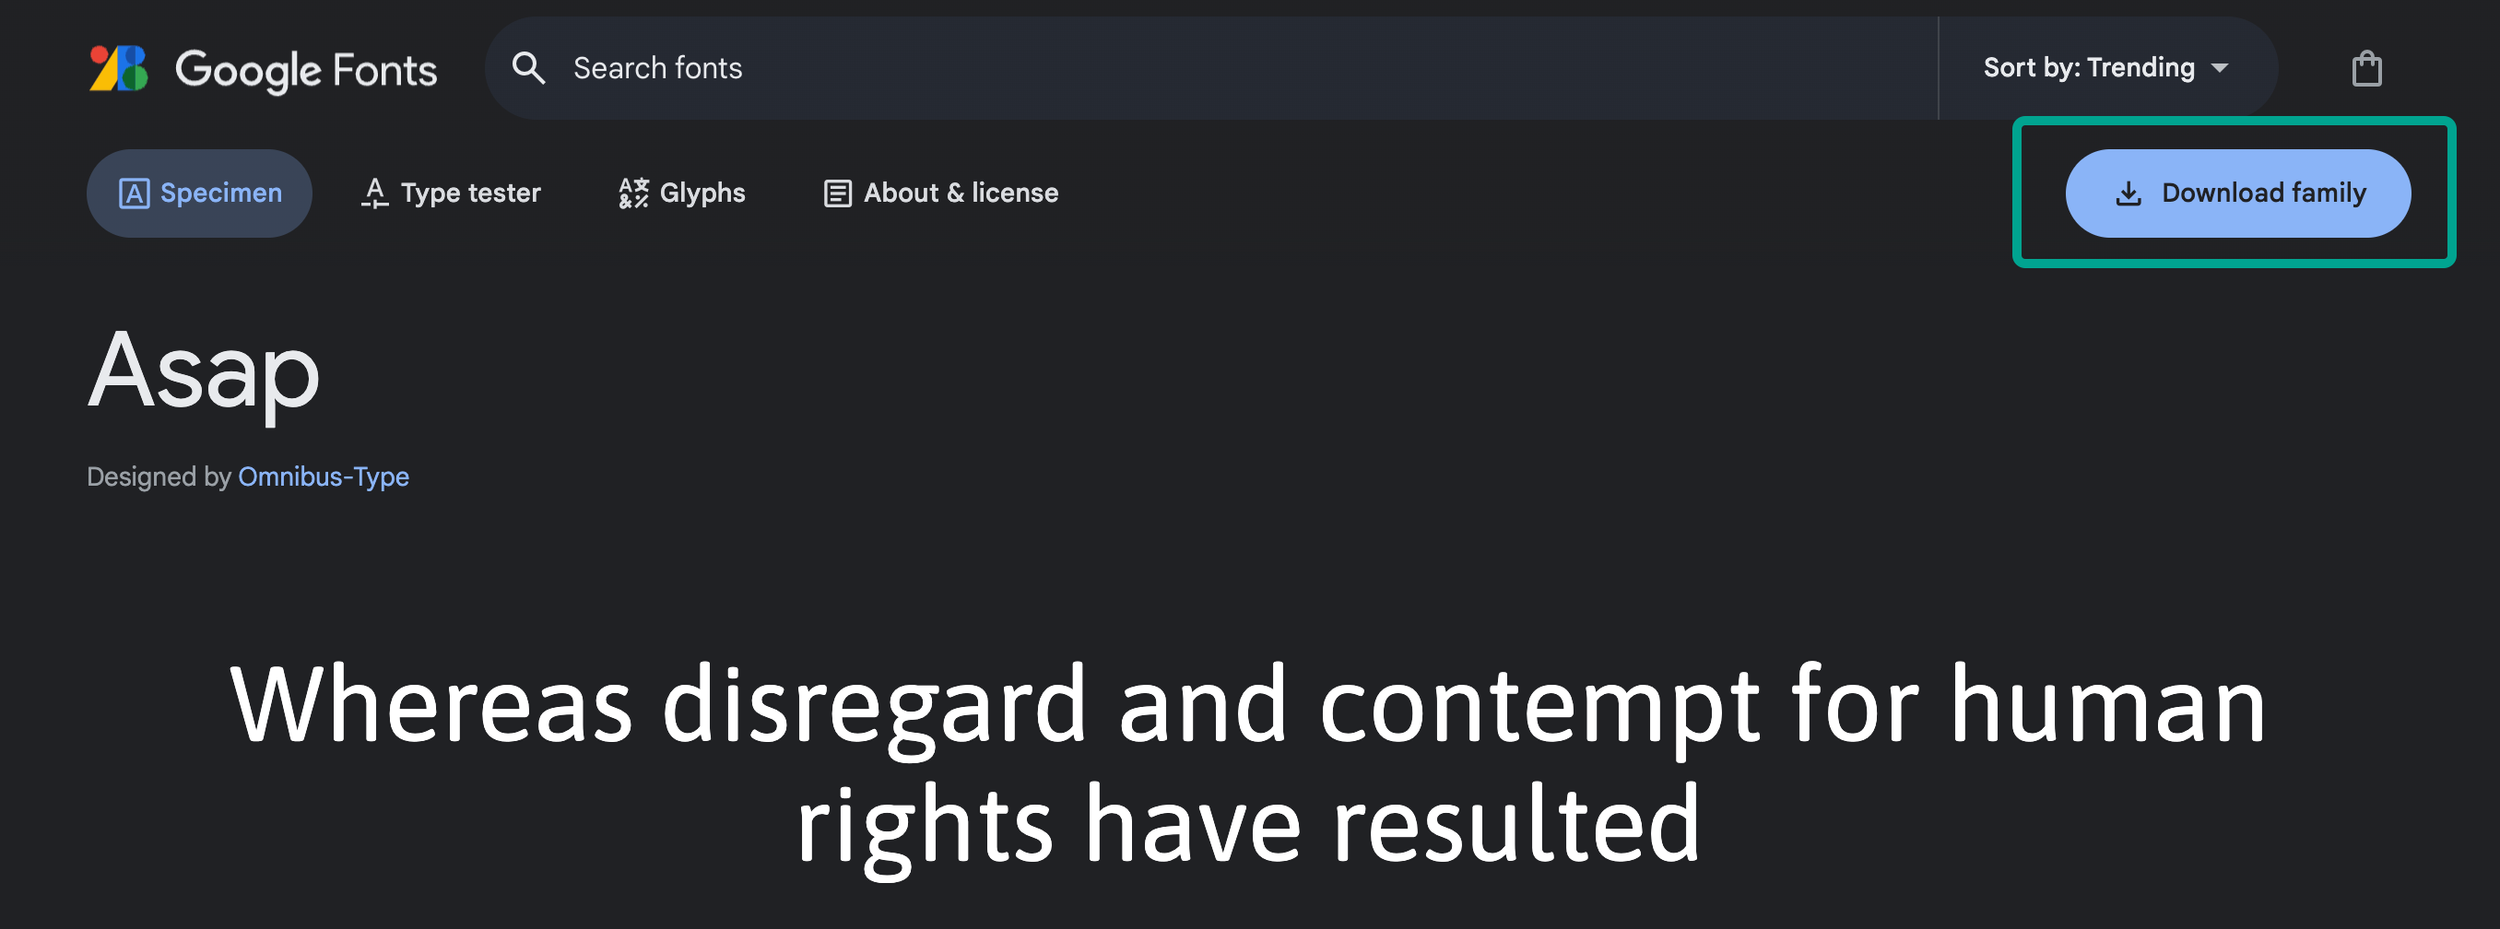
💡 Did you know that Google Fonts offers a vast collection of fonts that are free to use for both personal and commercial projects? With hundreds of font families available, Google Fonts is an incredible resource for anyone looking to add professional and diverse typography to their work without worrying about licensing fees or restrictions.
Many other websites offer free or paid fonts too. Once you’ve chosen your font, download it to your computer. Fonts typically come in .zip files that contain .ttf (TrueType Font) or .otf (OpenType Font) files.
③ Extract the Font File
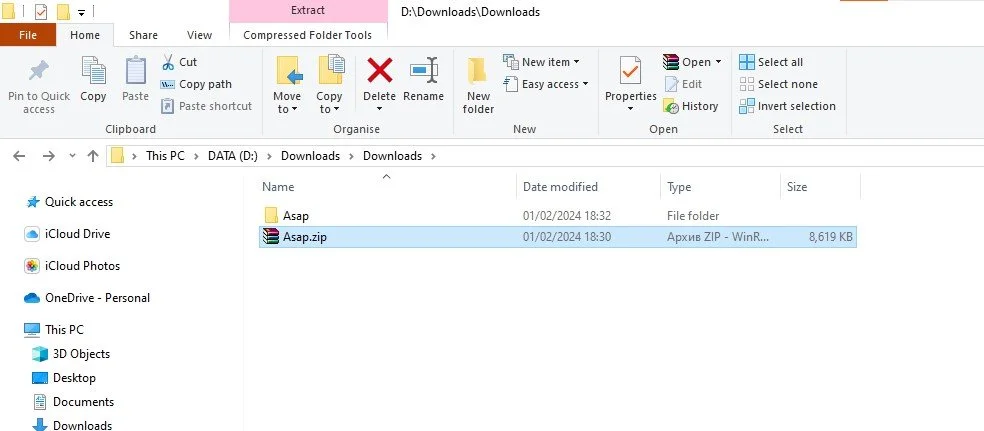
Locate the downloaded .zip file in your Downloads folder or wherever you chose to save it. Right-click on the .zip file and select ‘Extract All.’ Then, choose where you want to extract the font files and click ‘Extract.’
④ Two Ways of Installing a Font on Windows
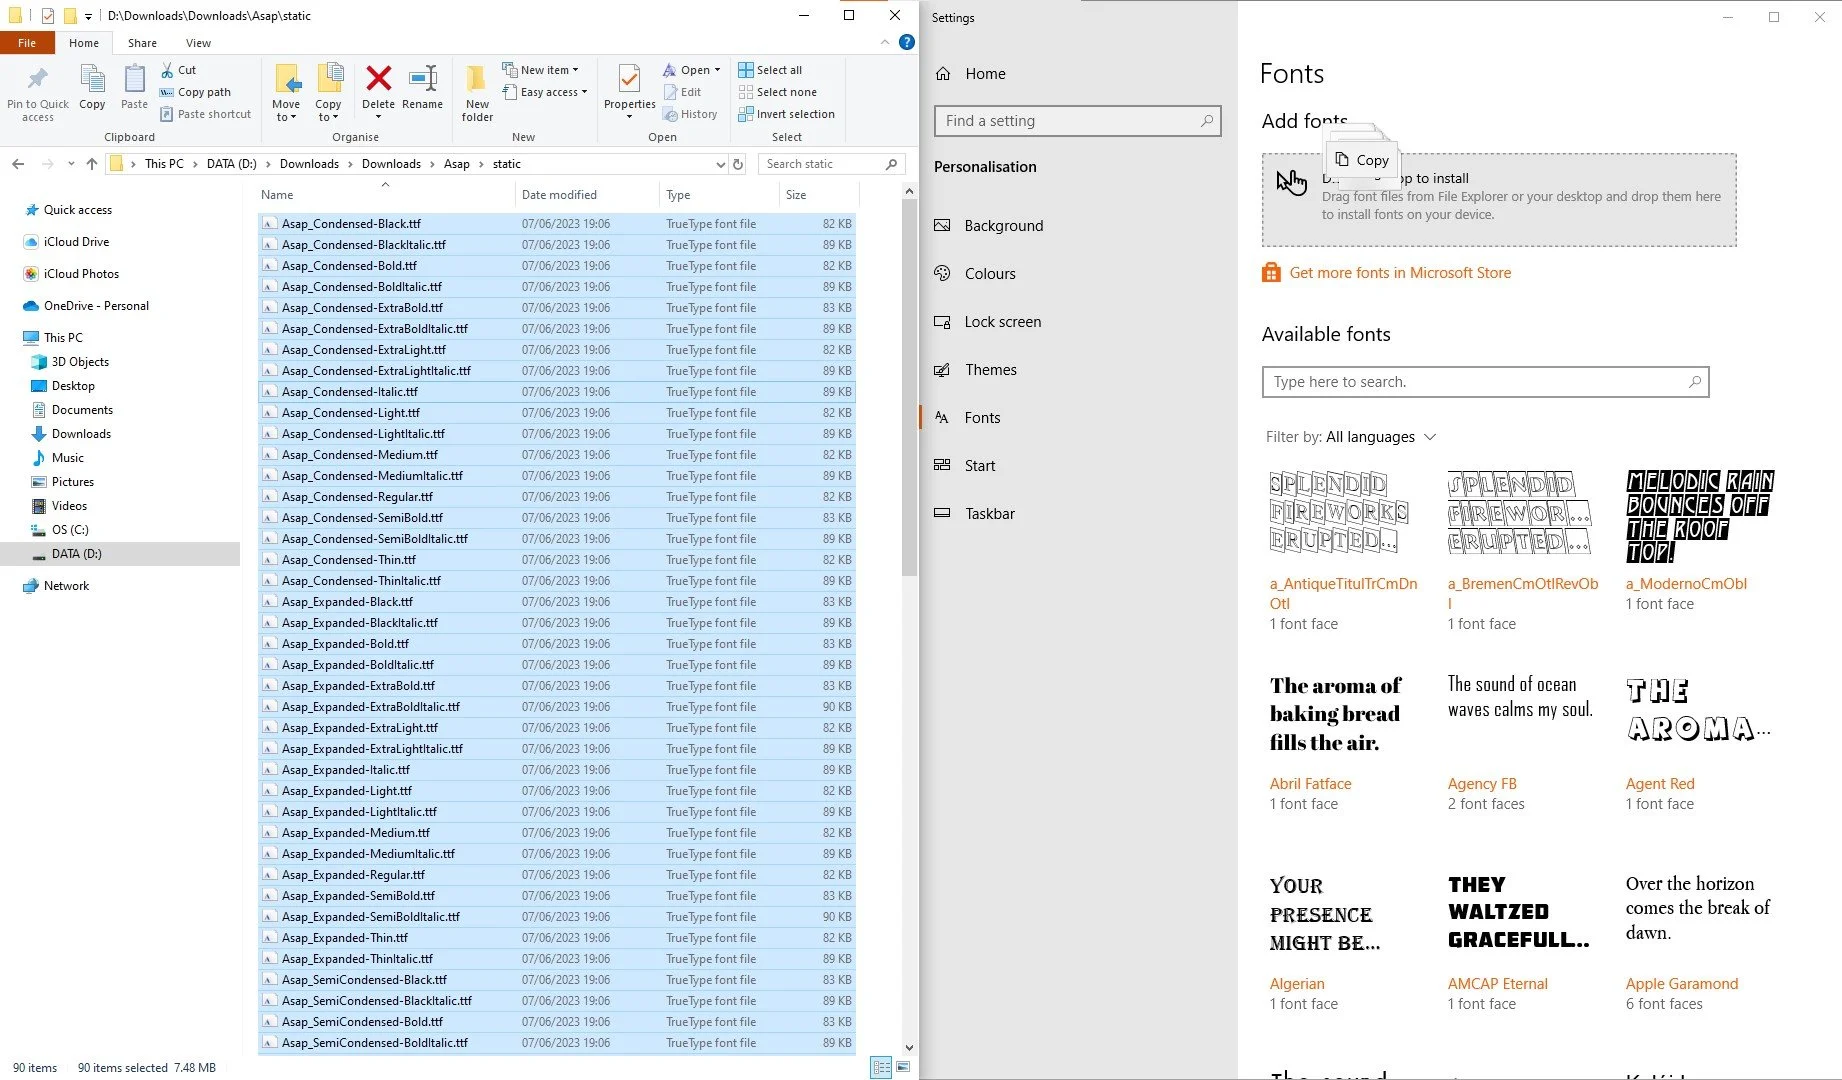
1. Open ‘Font Settings’ on your PC. Open the font folder. Select all .ttf and .otf files. Drag and drop them to a dedicated field to install.
2. Navigate to the extracted folder, right-click on the font file (.ttf or .otf), and choose ‘Install.’ Fonts often come in various styles (Bold, Italic, Condensed, etc.). Select all the styles, right-click on any of them and choose ‘Install’.

My personal advice is to spend some time selecting only the styles you will actually use before installing them on your computer. You are risking losing it in such a variety of options all the time. The number of available styles in these example is just too much!
For Mac Users
① Close Any Open Applications
First, close any open applications. Newly installed fonts may not appear in your font menu if you ignore this step. (Specifically the case with MS PowerPoint!)
② Download the Font
Similar to Windows, start by downloading the font you want from a reputable source. The font will typically download as a .zip file.
③ Extract the Font File
Double-click the .zip file in your Downloads folder or wherever you saved it. Mac OS automatically extracts the files, usually placing the font file (.ttf or .otf) directly in the same location.

④ Three Ways of Installing a Font on Mac
1. Open the ‘Font Book’ app. Drag and drop the whole unzipped folder to the Font Book and make sure the new fonts are in the Font Book collection.

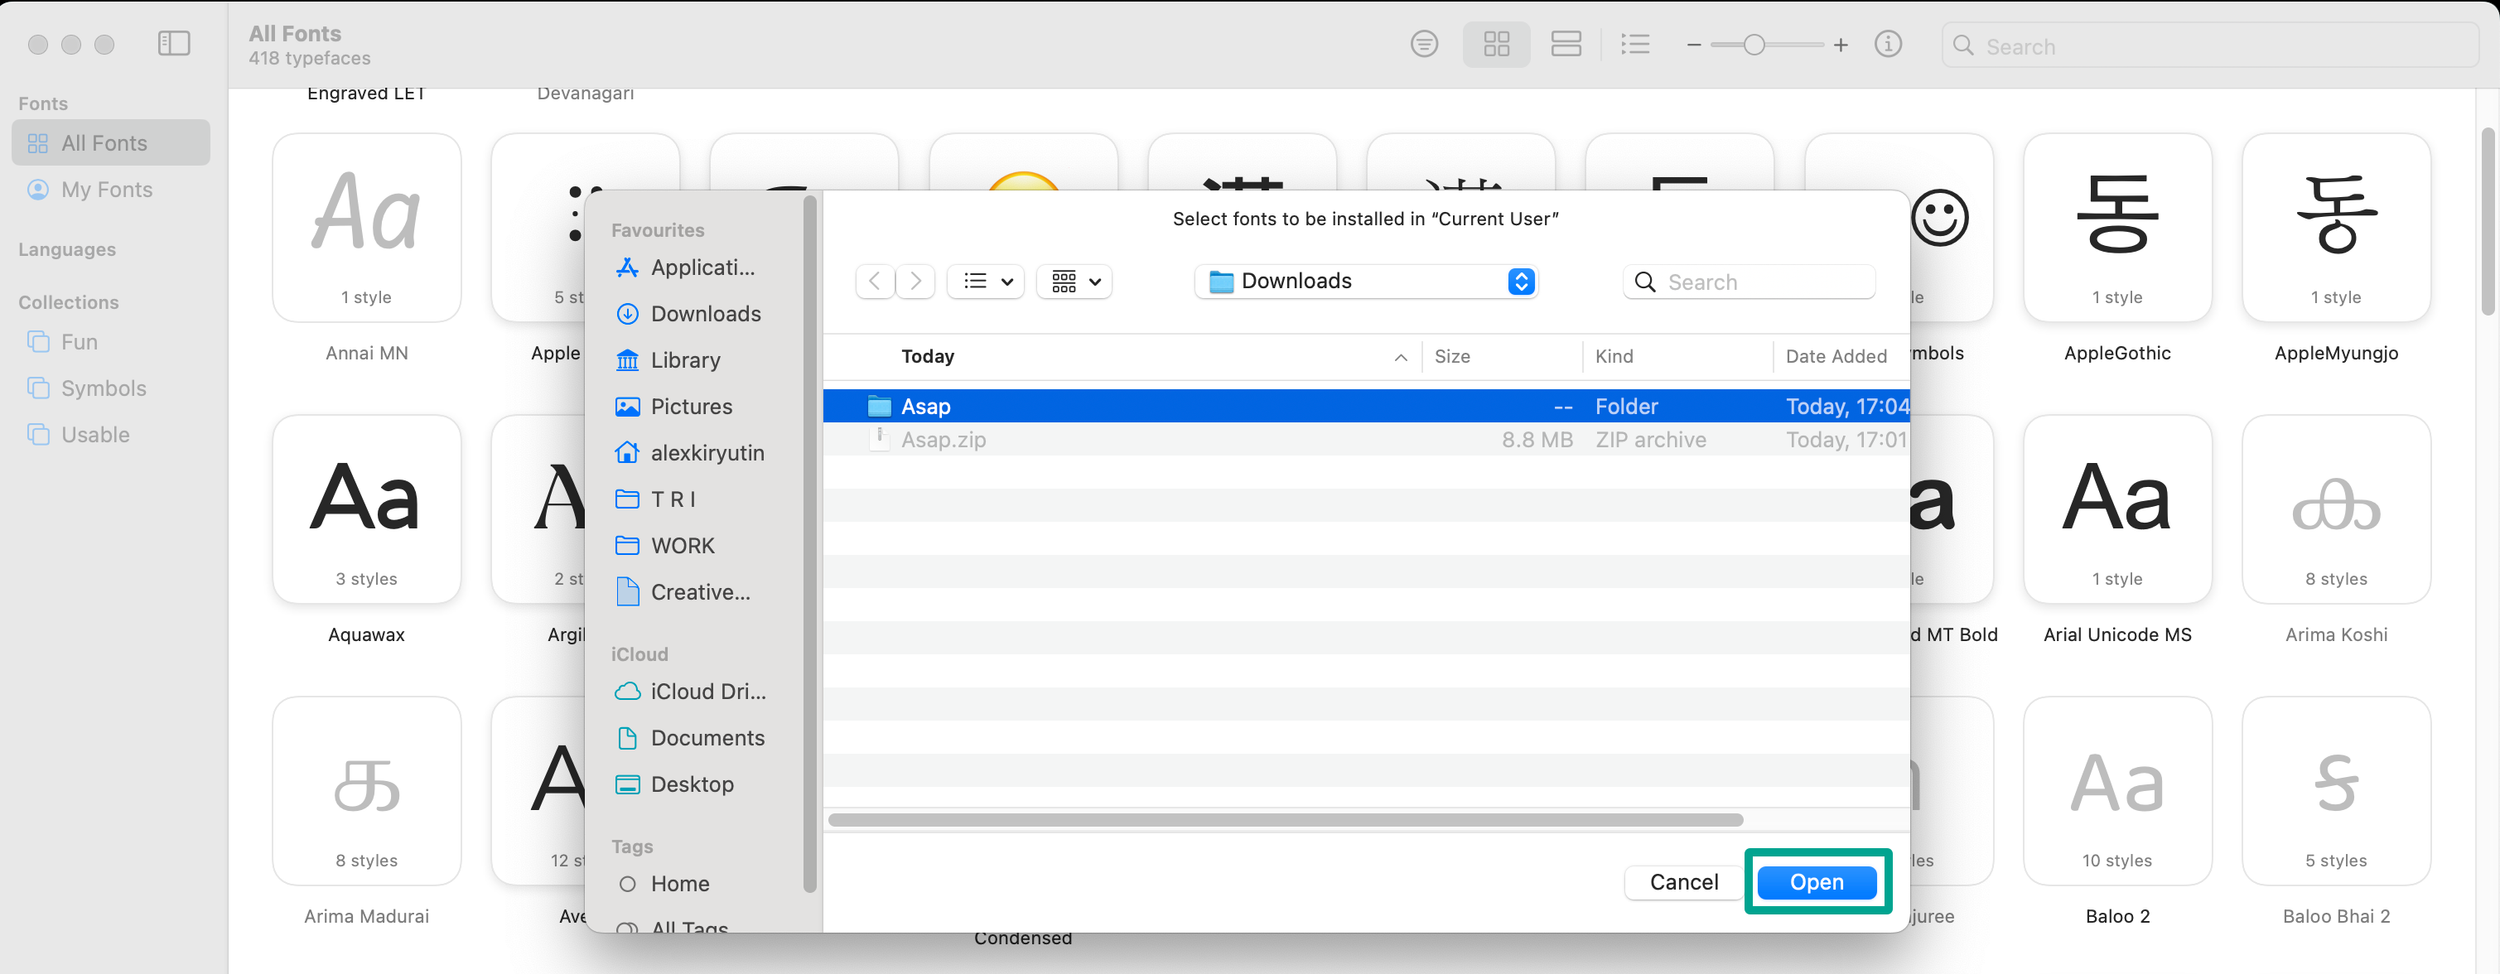
2. When in the ‘Font Book’, click File — ‘Add Fonts to Current User…’, localize the font folder, select it and click ‘Open’.
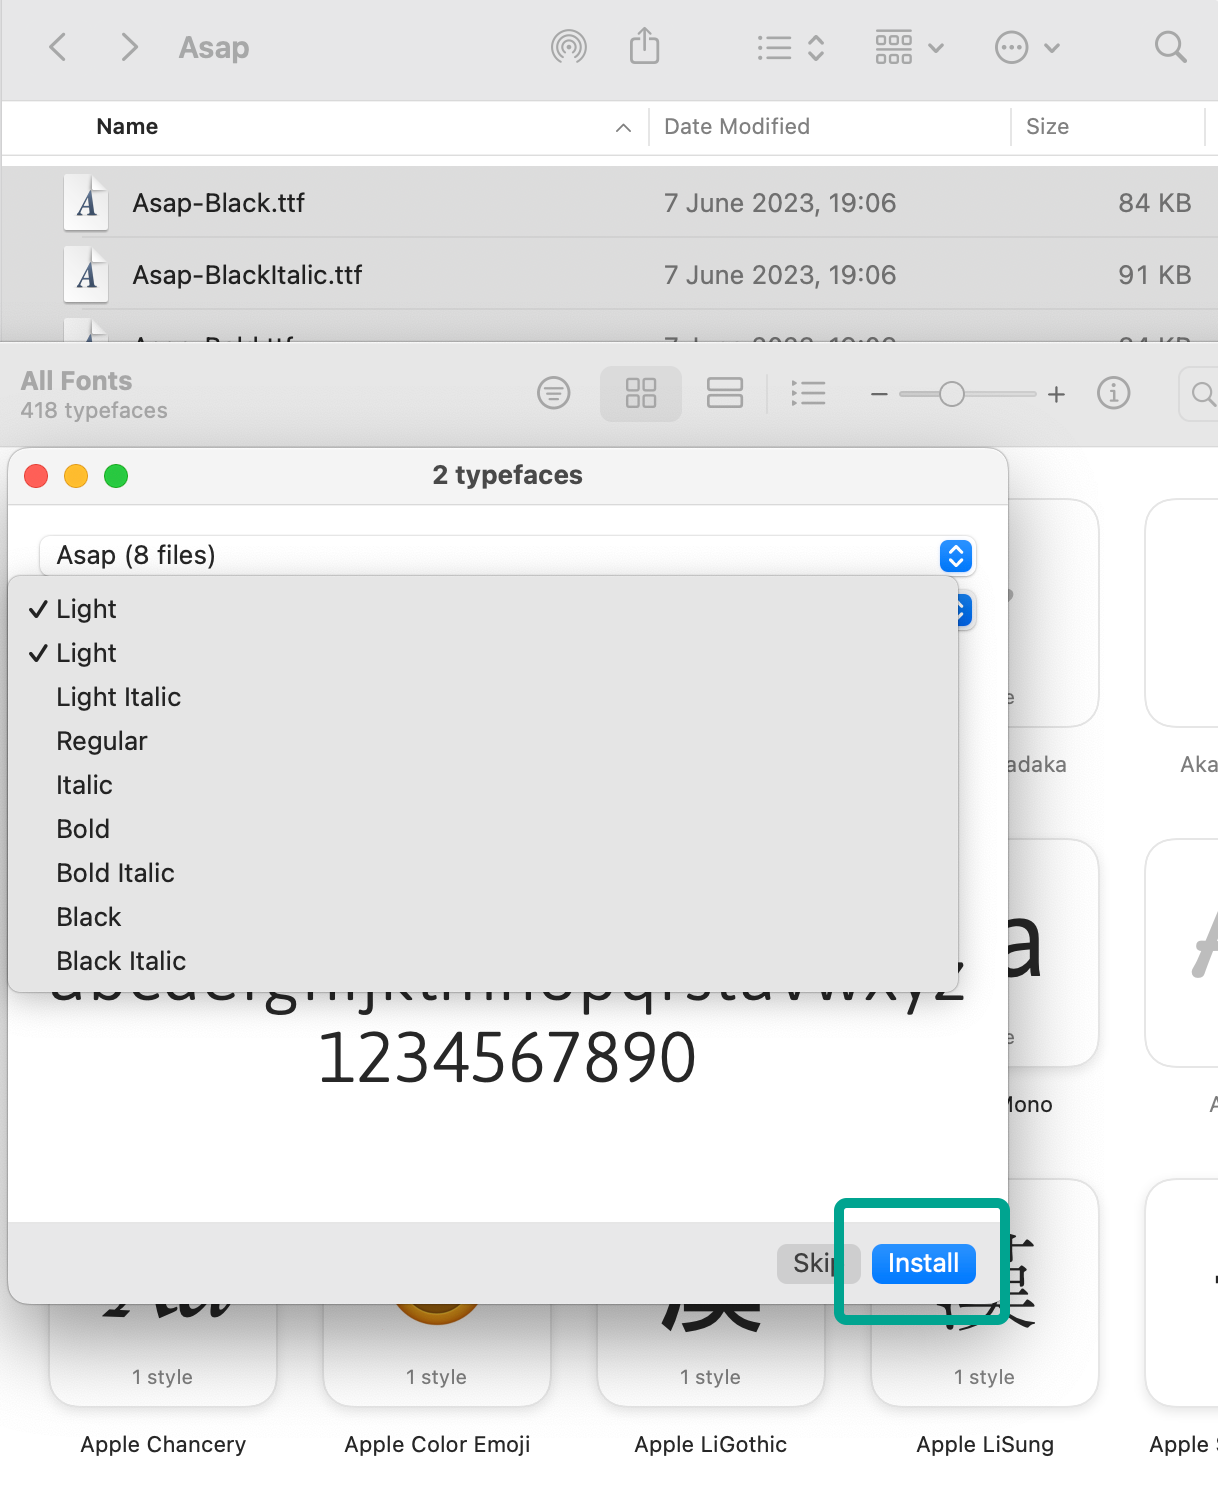
3. Open the ‘Finder’ and navigate to the location of your extracted font file. Select all font files (.otf or .ttf). Double-click one of them to open the Font Book application. Click ‘Install Font’ at the bottom of the preview window.
And that’s it! You’ve successfully installed a new font on your computer. Now, when you open your word processor, design program, or any other application that uses typography, you should see your newly installed font listed among the available options.

Remember, while installing new fonts can be a fun way to customize your projects, it's essential to use fonts legally and respect copyright laws. Always download fonts from reputable sources and adhere to any licensing requirements they come with. Happy designing!